How to switch to Squarespace from Wordpress, Wix or another Website Builder
Published February 2026
This post is for the coach, therapist or service provider who wants to learn how to switch to Squarespace! What this blogpost will cover:
How to choose a Squarespace Template
How to copy your old website content to your new website
Which Squarespace plan I recommend
How to purchase a plan, connect your domain and make your new site live
How switching to Squarespace will affect your SEO
Pros and Cons of all the best website builder options (and why I love Squarespace)
Now, let’s dive in. ✨
The 4 Steps for Switching to Squarespace
STEP 1. Open a new Squarespace account and choose a website template.
Your first step is creating a new account on Squarespace (if you don’t already have one). On Squarespace you basically need to “choose a free template” to start. If you find a template on there that feels good to you, you can hit the button that says “Start with this design”. You’ll get a 14 day free trial to build your site.
If you’re not sure which template to choose or if none of them feel quite right, you have another option: you can purchase a website template created by a website designer. Let’s dig into this decision:
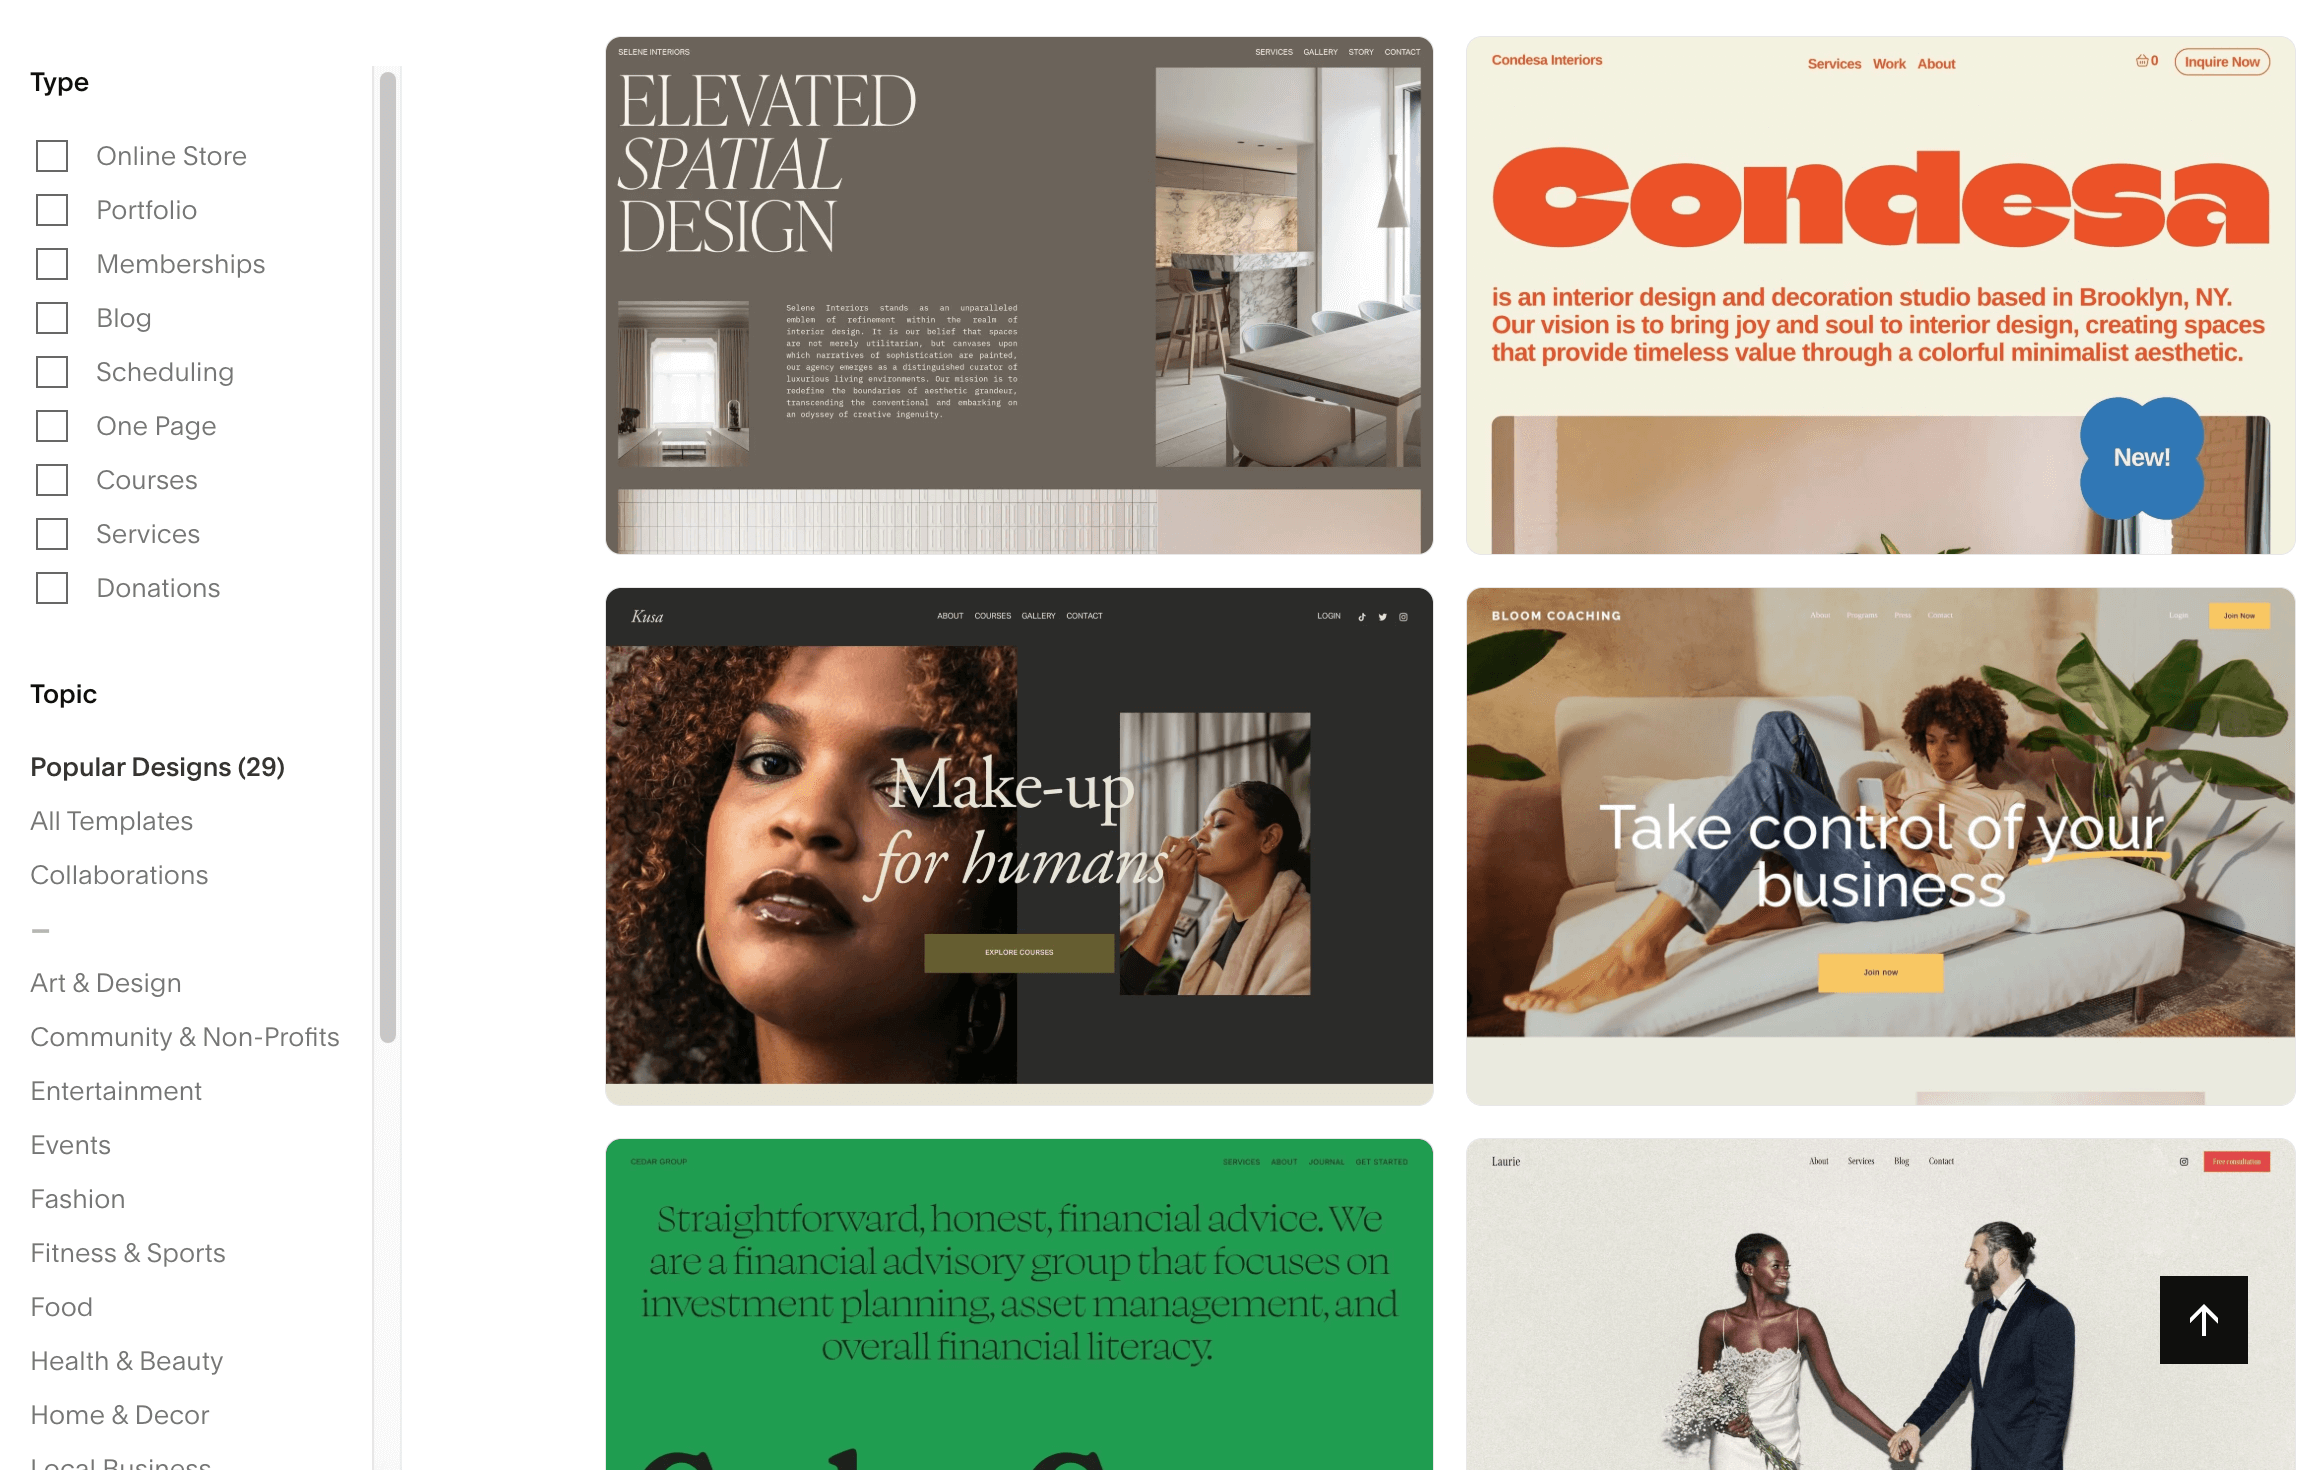
The Free Squarespace Template Library:
The free Squarespacce templates are beautiful and fully customizable (you can switch colors and fonts, change the layout, and add or remove pages ). Because they are designed to work for many different industries, you will need to adapt them to fit your specific business and offers.
For example, if you are a therapist running a group program, a free template may not guide you through exactly what should be included on a group program sales page. Because of this, free templates tend to work best for someone who is scrappy, hands-on, and comfortable with marketing, or who already understands how to structure a sales page. You’ll learn how to use all the Squarespace tools through trial and error and probably googling a few Youtube tutorials. The Squarespace Help Center library is also a wonderful resource!
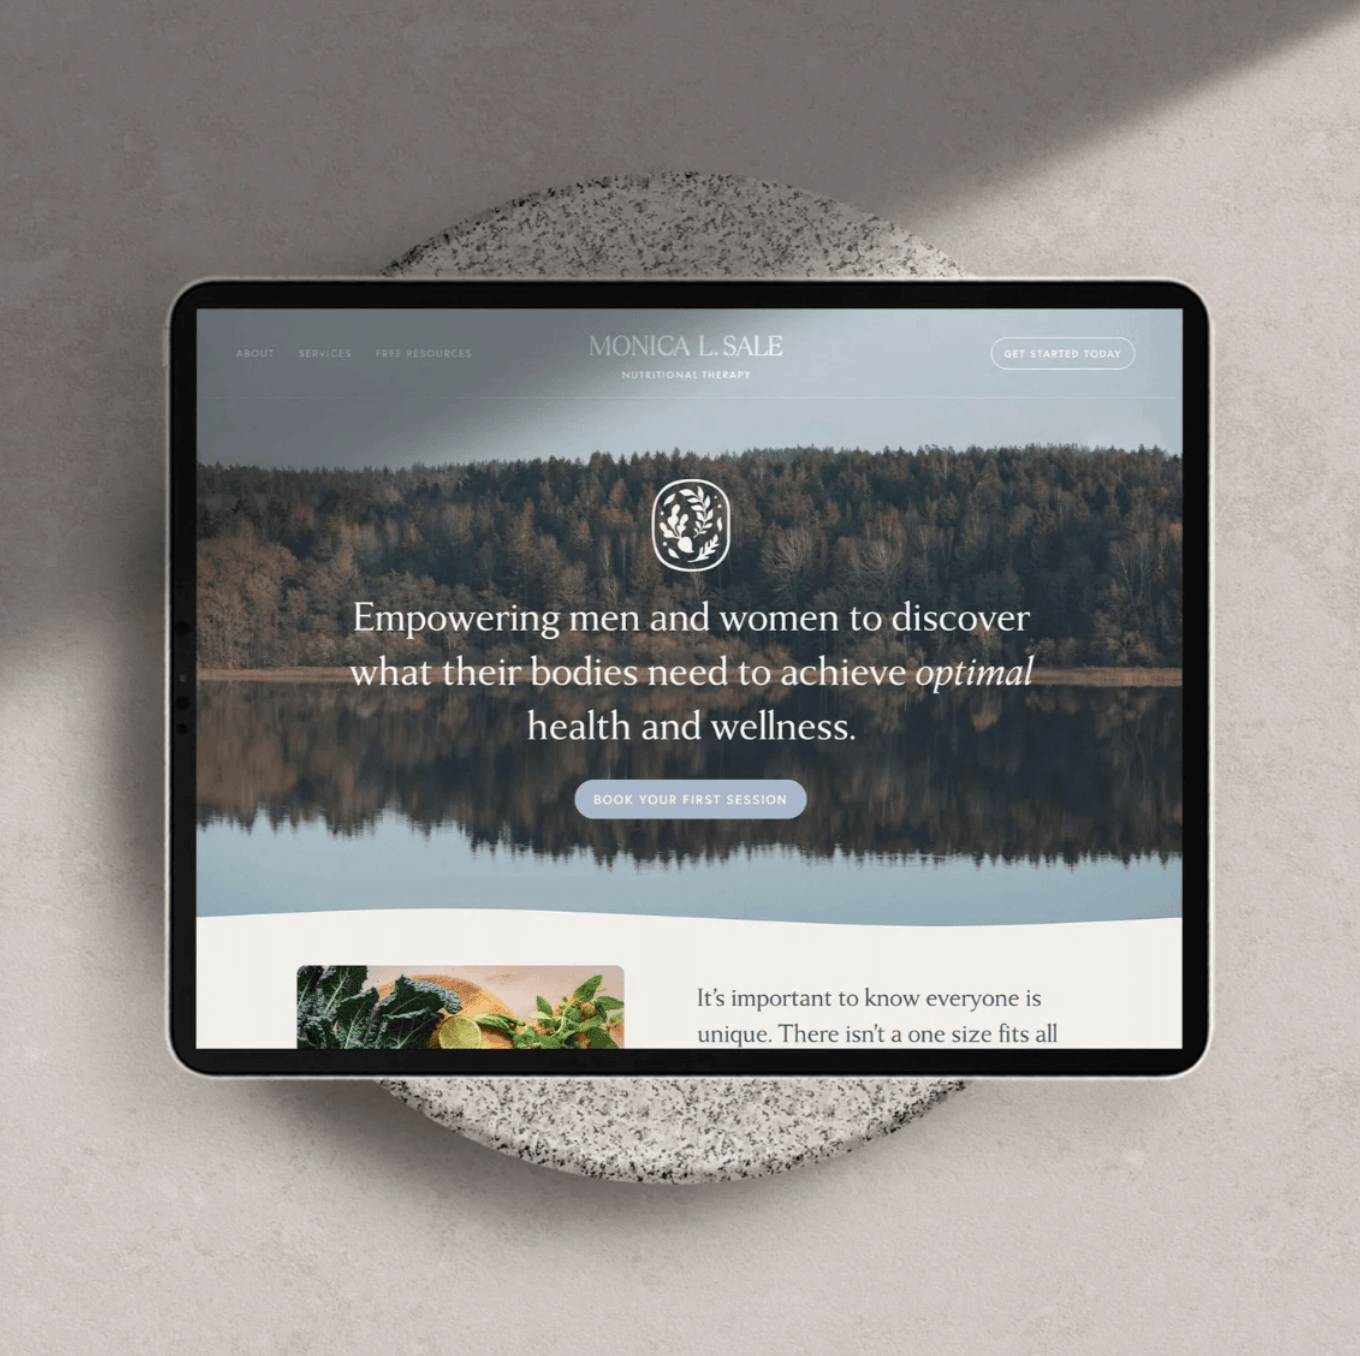
Or Choose a Premium Squarespace Website Template:
Premium Squarespace Website templates created by a website designer are created for a specific niche which means a lot of the initial work is already done for you! 🤠 These types of templates usually include a design you already love, more pre-built pages, and come with video tutorials so you get to learn the ins and outs of Squarespace in a more direct and applicable way. You’ll learn what you need to learn and skip anything that isn’t relevant to your template. These types of templates are an additional investment, typically ranging from $200 to $500.
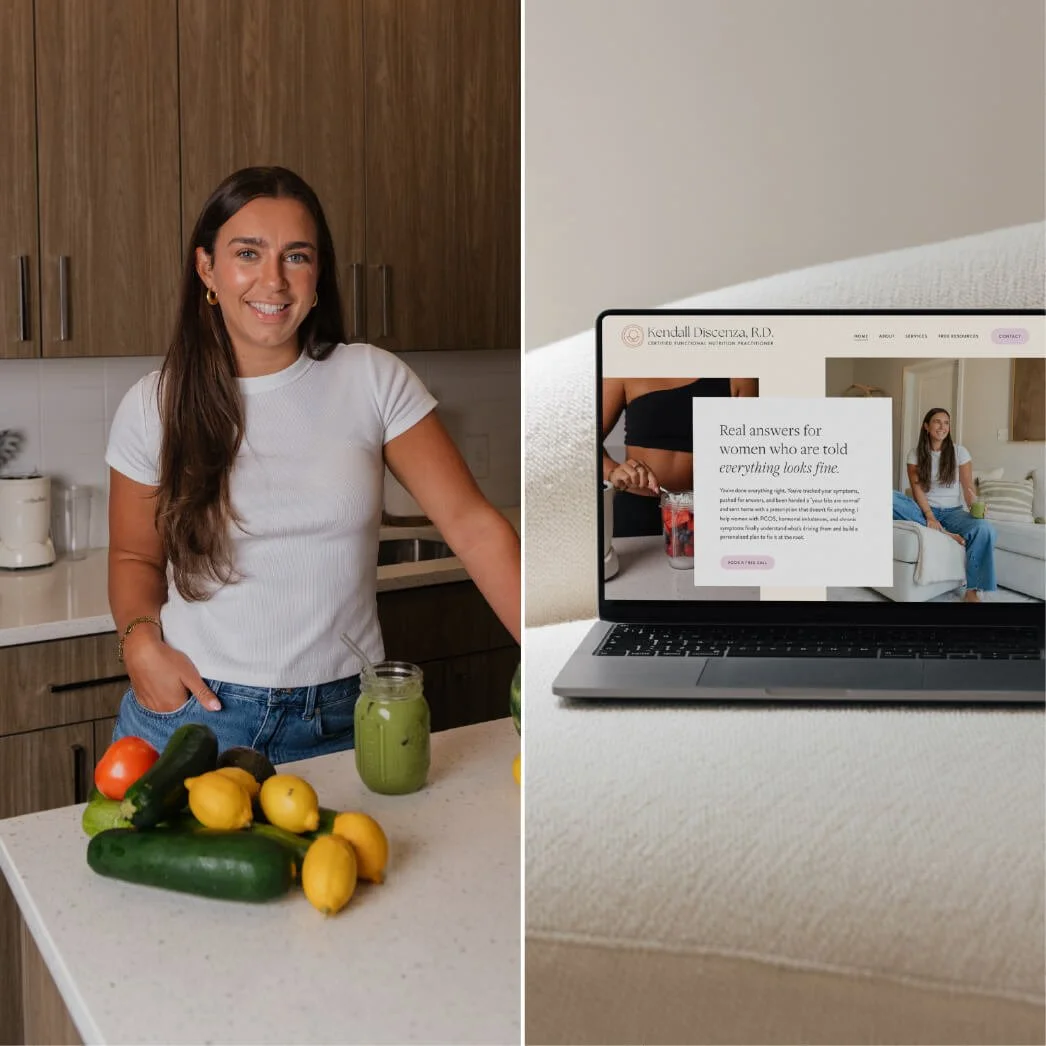
My Squarespace website templates are designed for therapists and coaches (if that’s you, check them out!). They include pre-designed sales pages, freebie pages, insurance and FAQ sections, and are built around industry best practices and current design trends. With my templates, you also receive a six month free trial, which can be especially helpful if you prefer to move through a project like this at a slower pace. You also get 20% off your first year!
If the website templates in the sundai shop don’t work with what you’re looking for (all good!), you can google “Squarespace templates” and add your industry to explore your website template options. Every shop runs a bit differently, but what you can expect overall: you’ll purchase the template, receive immediate access to the tutorial course, receive an invitation to your new website in your inbox within 24-48 hours, and then you’ll go through the steps of customize your unique template.
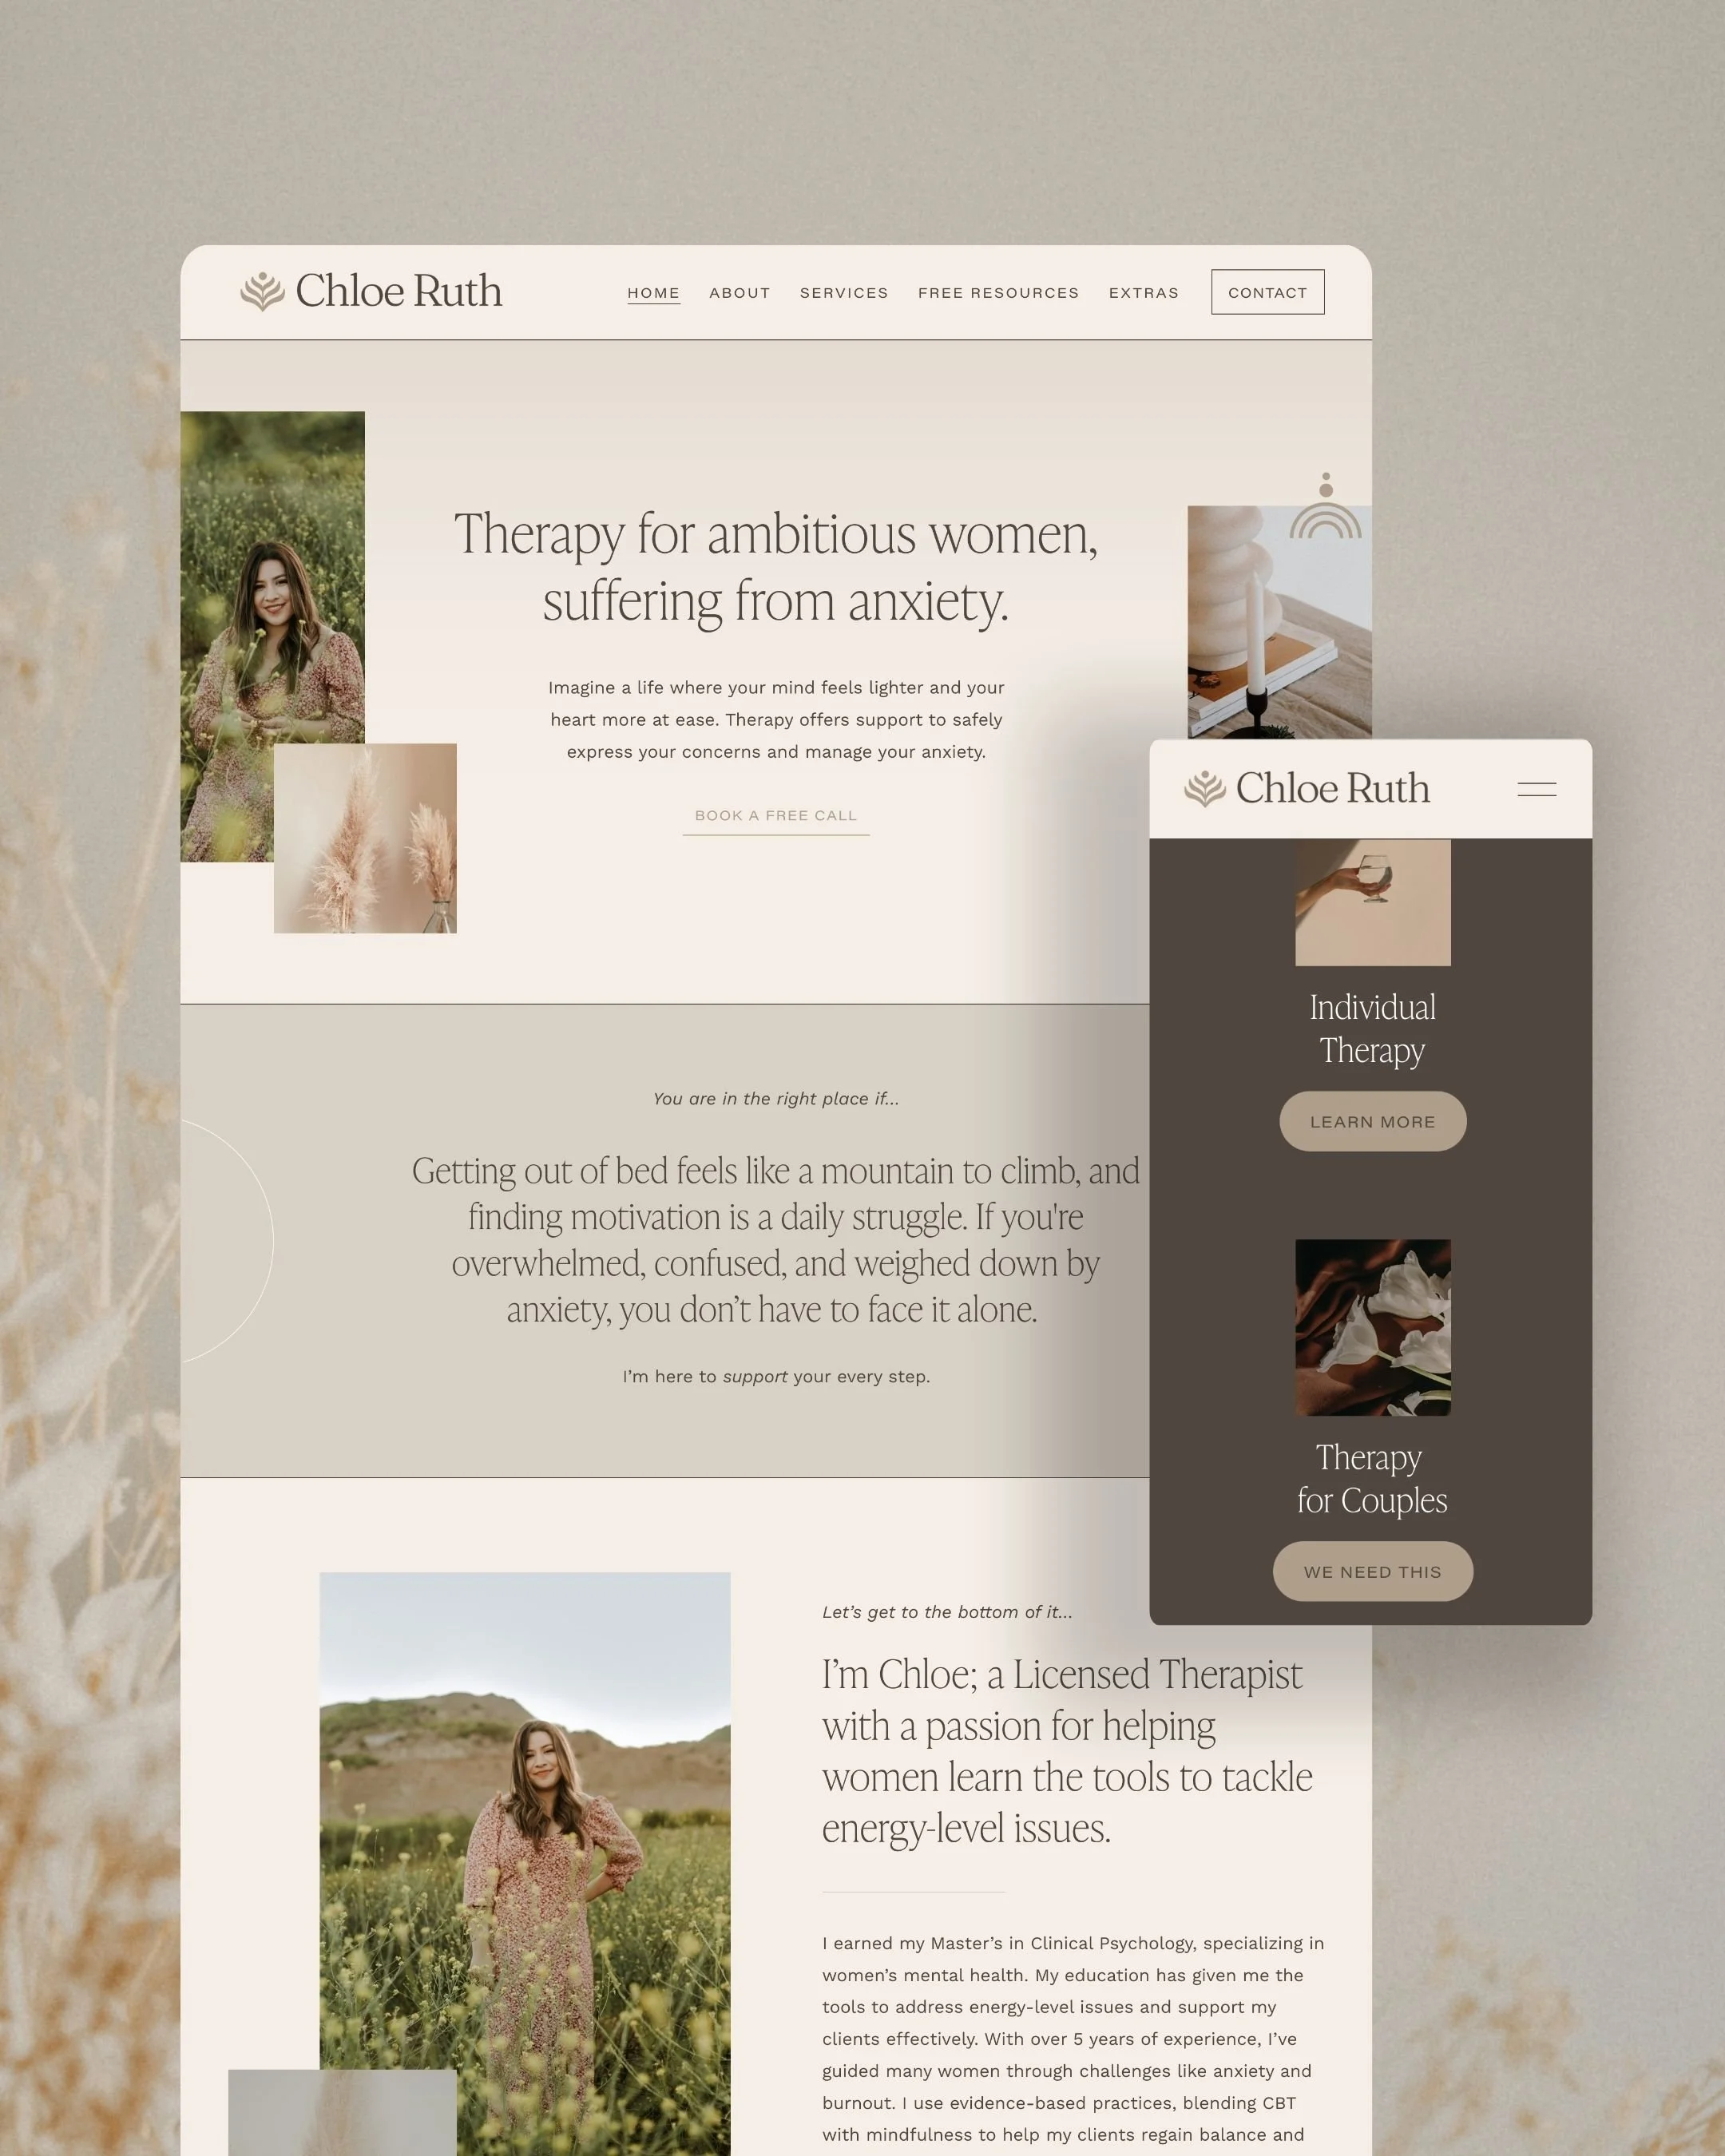
This is the Chloe Squarespace Website Template >
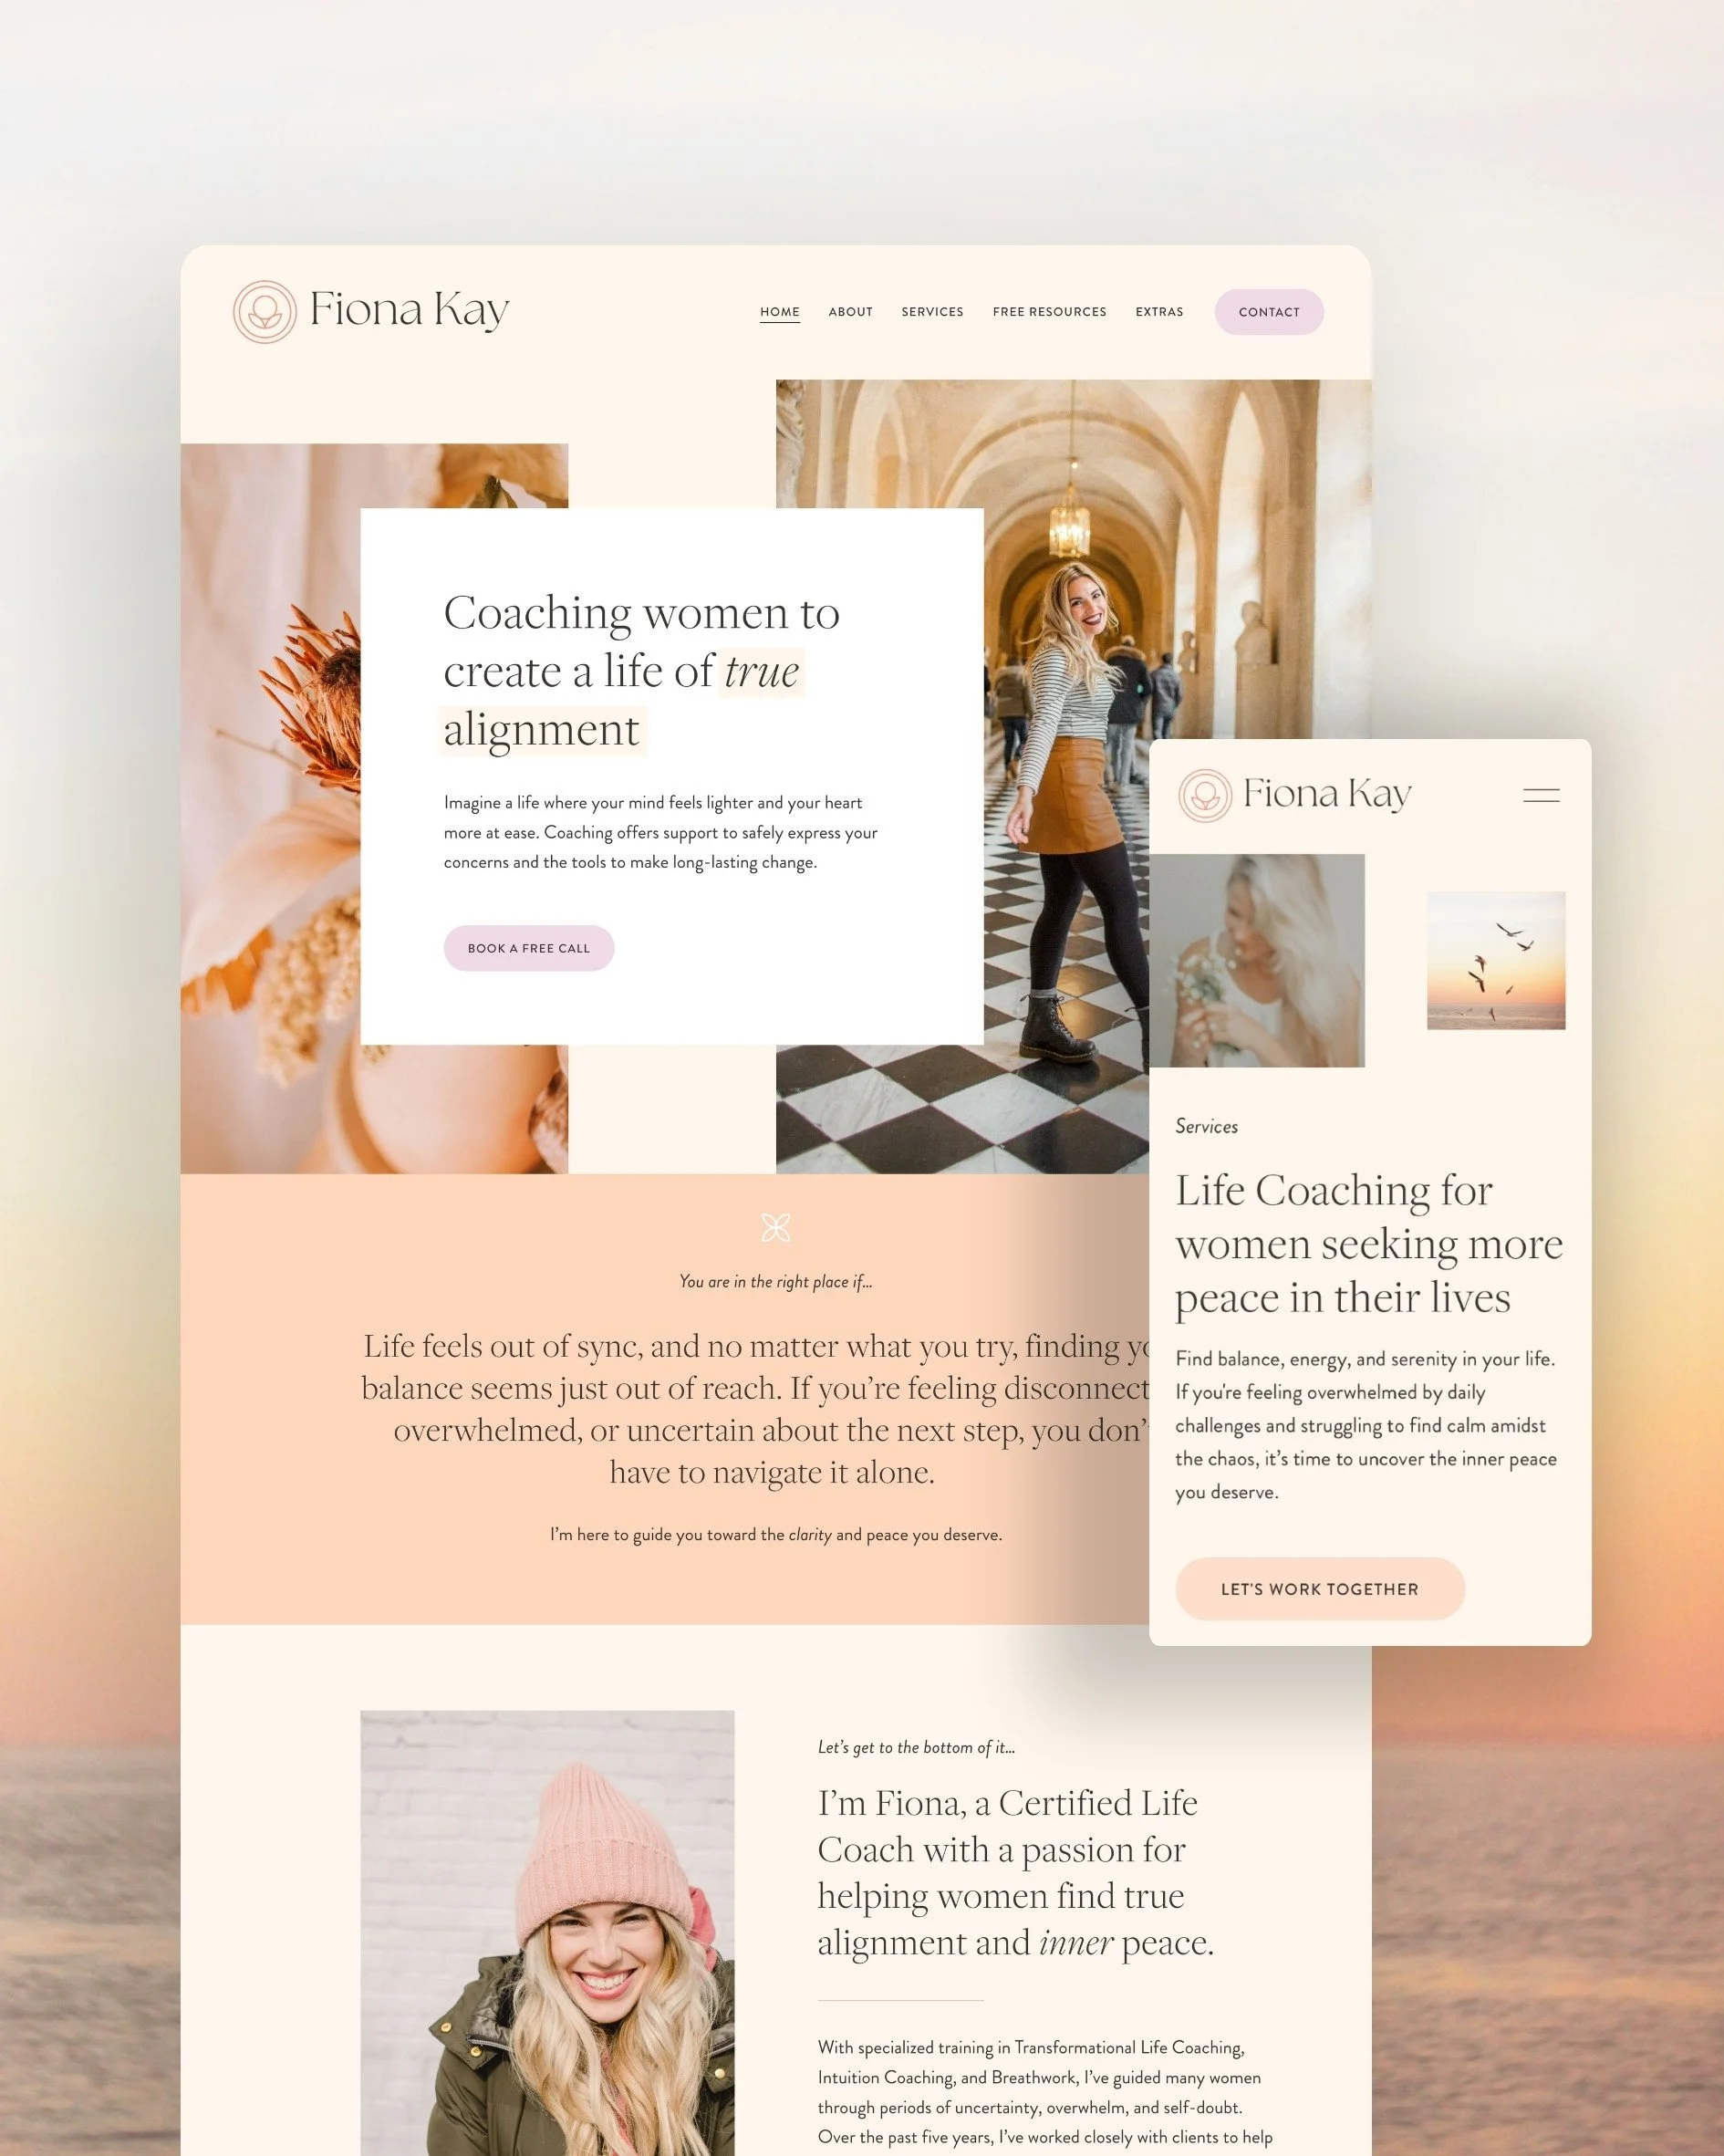
This is the Fiona Squarespace Website Template >
STEP 2. Copy and paste your website content.
After selecting your template, your next step is to copy your existing website content into your new Squarespace template. Unfortunately there is no way to just “Switch” your old website to Squarespace - It’s a manual process. Your new Squarespace website will not be visible to the public until you are fully ready to launch or go live. So you just leave your old website up, build your new website and then when it’s ready, you make it live (more on that below).
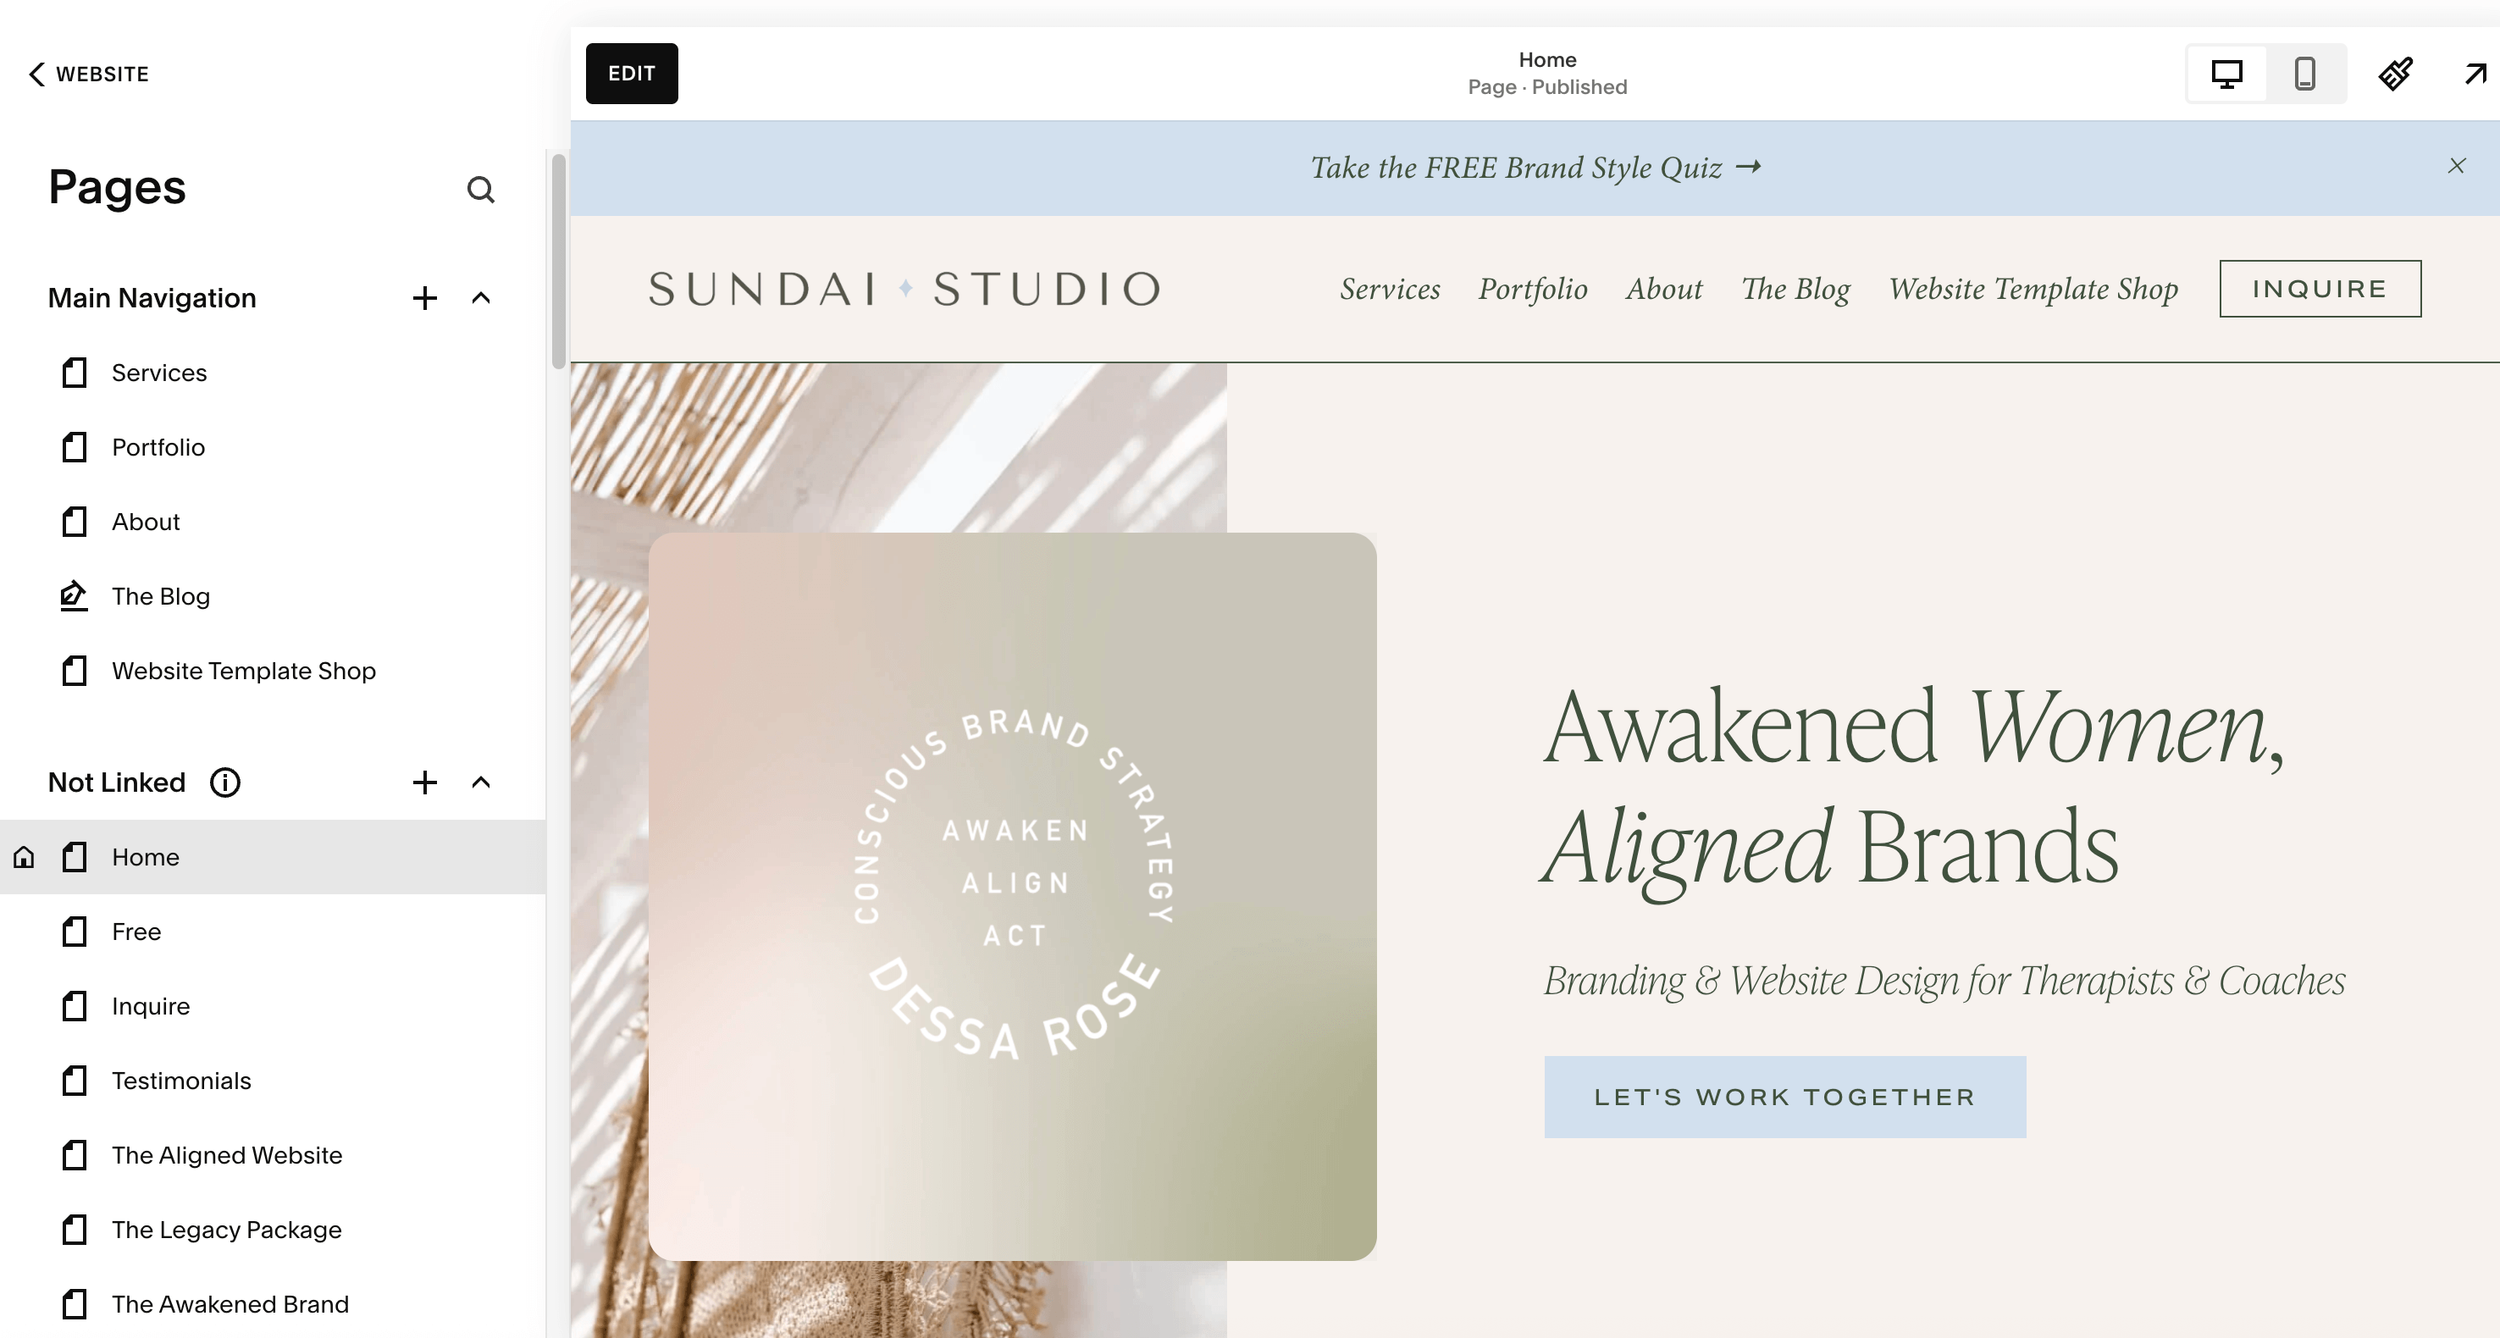
Before you begin moving over your text, start by creating the pages you need.
My pro tip is to create all the pages you’ll need first (just leave them blank or unedited for now). By creating all those pages ahead of time, you can then LINK to your different pages throughout your website AS you’re adding your copy and buttons to your pages. Plus you’ll be able to see on the left side panel all of your pages and click around to them easily.
Depending on the template you choose, at this point you may be faced with some “design” decisions!
Unless you already have a great design eye, my recommendation would be use your old website as design guidance. Simply copy the old design layout as best as you can (image on the right, text on the left, for example). Focus first on getting all of your copy and images onto the page. Once everything is in place, you can refine and “style” the design using Squarespace’s built-in styling tools. Here’s a tutorial on how to change colors. And here’s a tutorial on how to change fonts. (By the way, if this is allll feeling way too overwhelming, or you are already stuck, book a call with me - I have Design Days for exactly this type of thing!)
Then you can start transferring your text (the copy).
As you move your text over, you will naturally begin to notice areas that feel outdated or are in need of refinement. This is a great opportunity to make small edits and improvements. If you are using one of my website templates, you will also have access to copywriting prompts that will help you decide what to write or how to clarify your messaging.
From a technical standpoint, the process is very simple. You will highlight your existing text, copy it, and paste it into a new text block on the appropriate page inside Squarespace. Here’s a tutorial on how to add a text block.
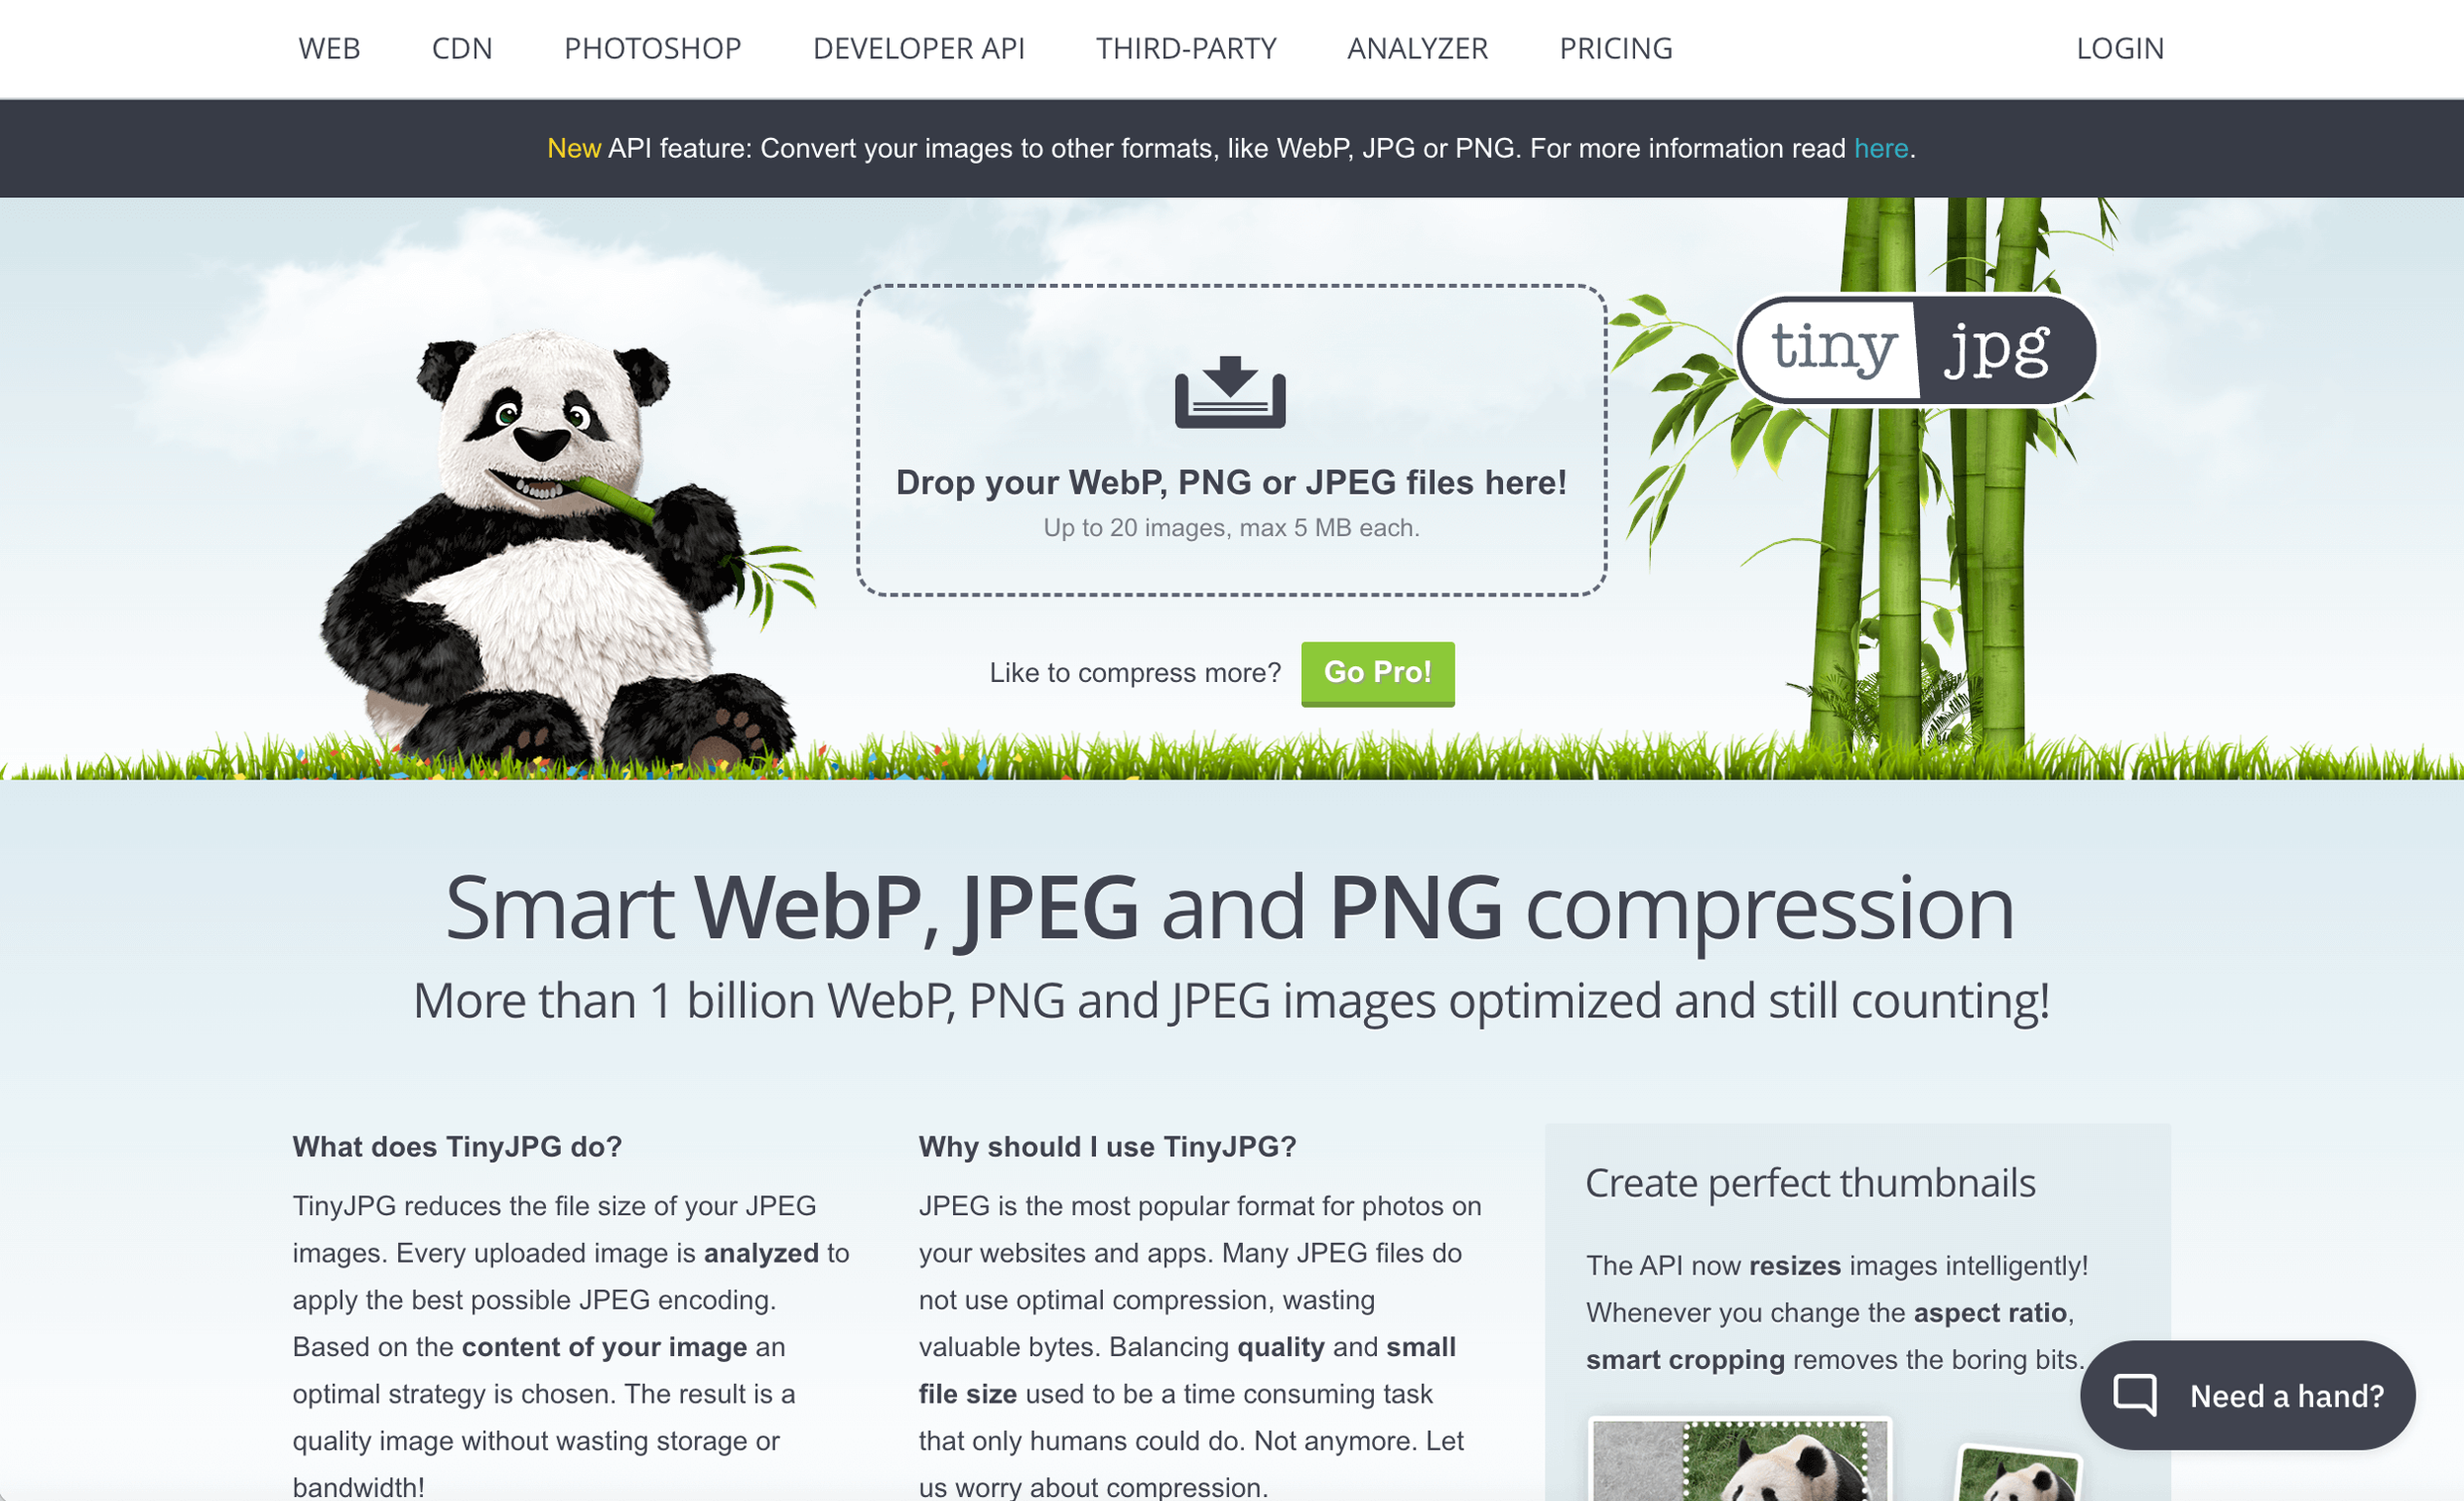
Add your images to your new website.
This is also an ideal time to “optimize” your images by renaming the files clearly and reducing their size using tinyjpg.com. If you no longer have access to your original image files, you can take a “selection screenshot” of the image you want to reuse by pressing Command, Shift, and 4 on a Mac. (you can take a selection screenshot)
Manually move over your blogposts.
Unfortunately, at this time there is not a way to move over all of your old blogposts to a new Squarespace blog. 🫣 You will have to manually “recreate” every blog you’d like to move over. You’ll have to move over the text, the featured image, the excerpt copy, any SEO work you have done — everything. In positive news, this is a great time to optimize your blogpost template! One of my favorite things to do in a blogpost template is make sure I have a little author bio at the bottom, introducing me and my work — you can even include a photo of you! Once you have that template created you will “duplicate” that post to begin to create another post you’re going to transfer.
If you have more than 20 blogposts to do, I’d recommend starting with your newest blogpost and work your way back. One exception to this recommendation would be if you happened to link a lot between all your blogposts, start with the oldest first! In Squarespace you can assign the “published date”, so go ahead and choose the date that it was originally published to make sure that the order of all your blogposts will remain the same.
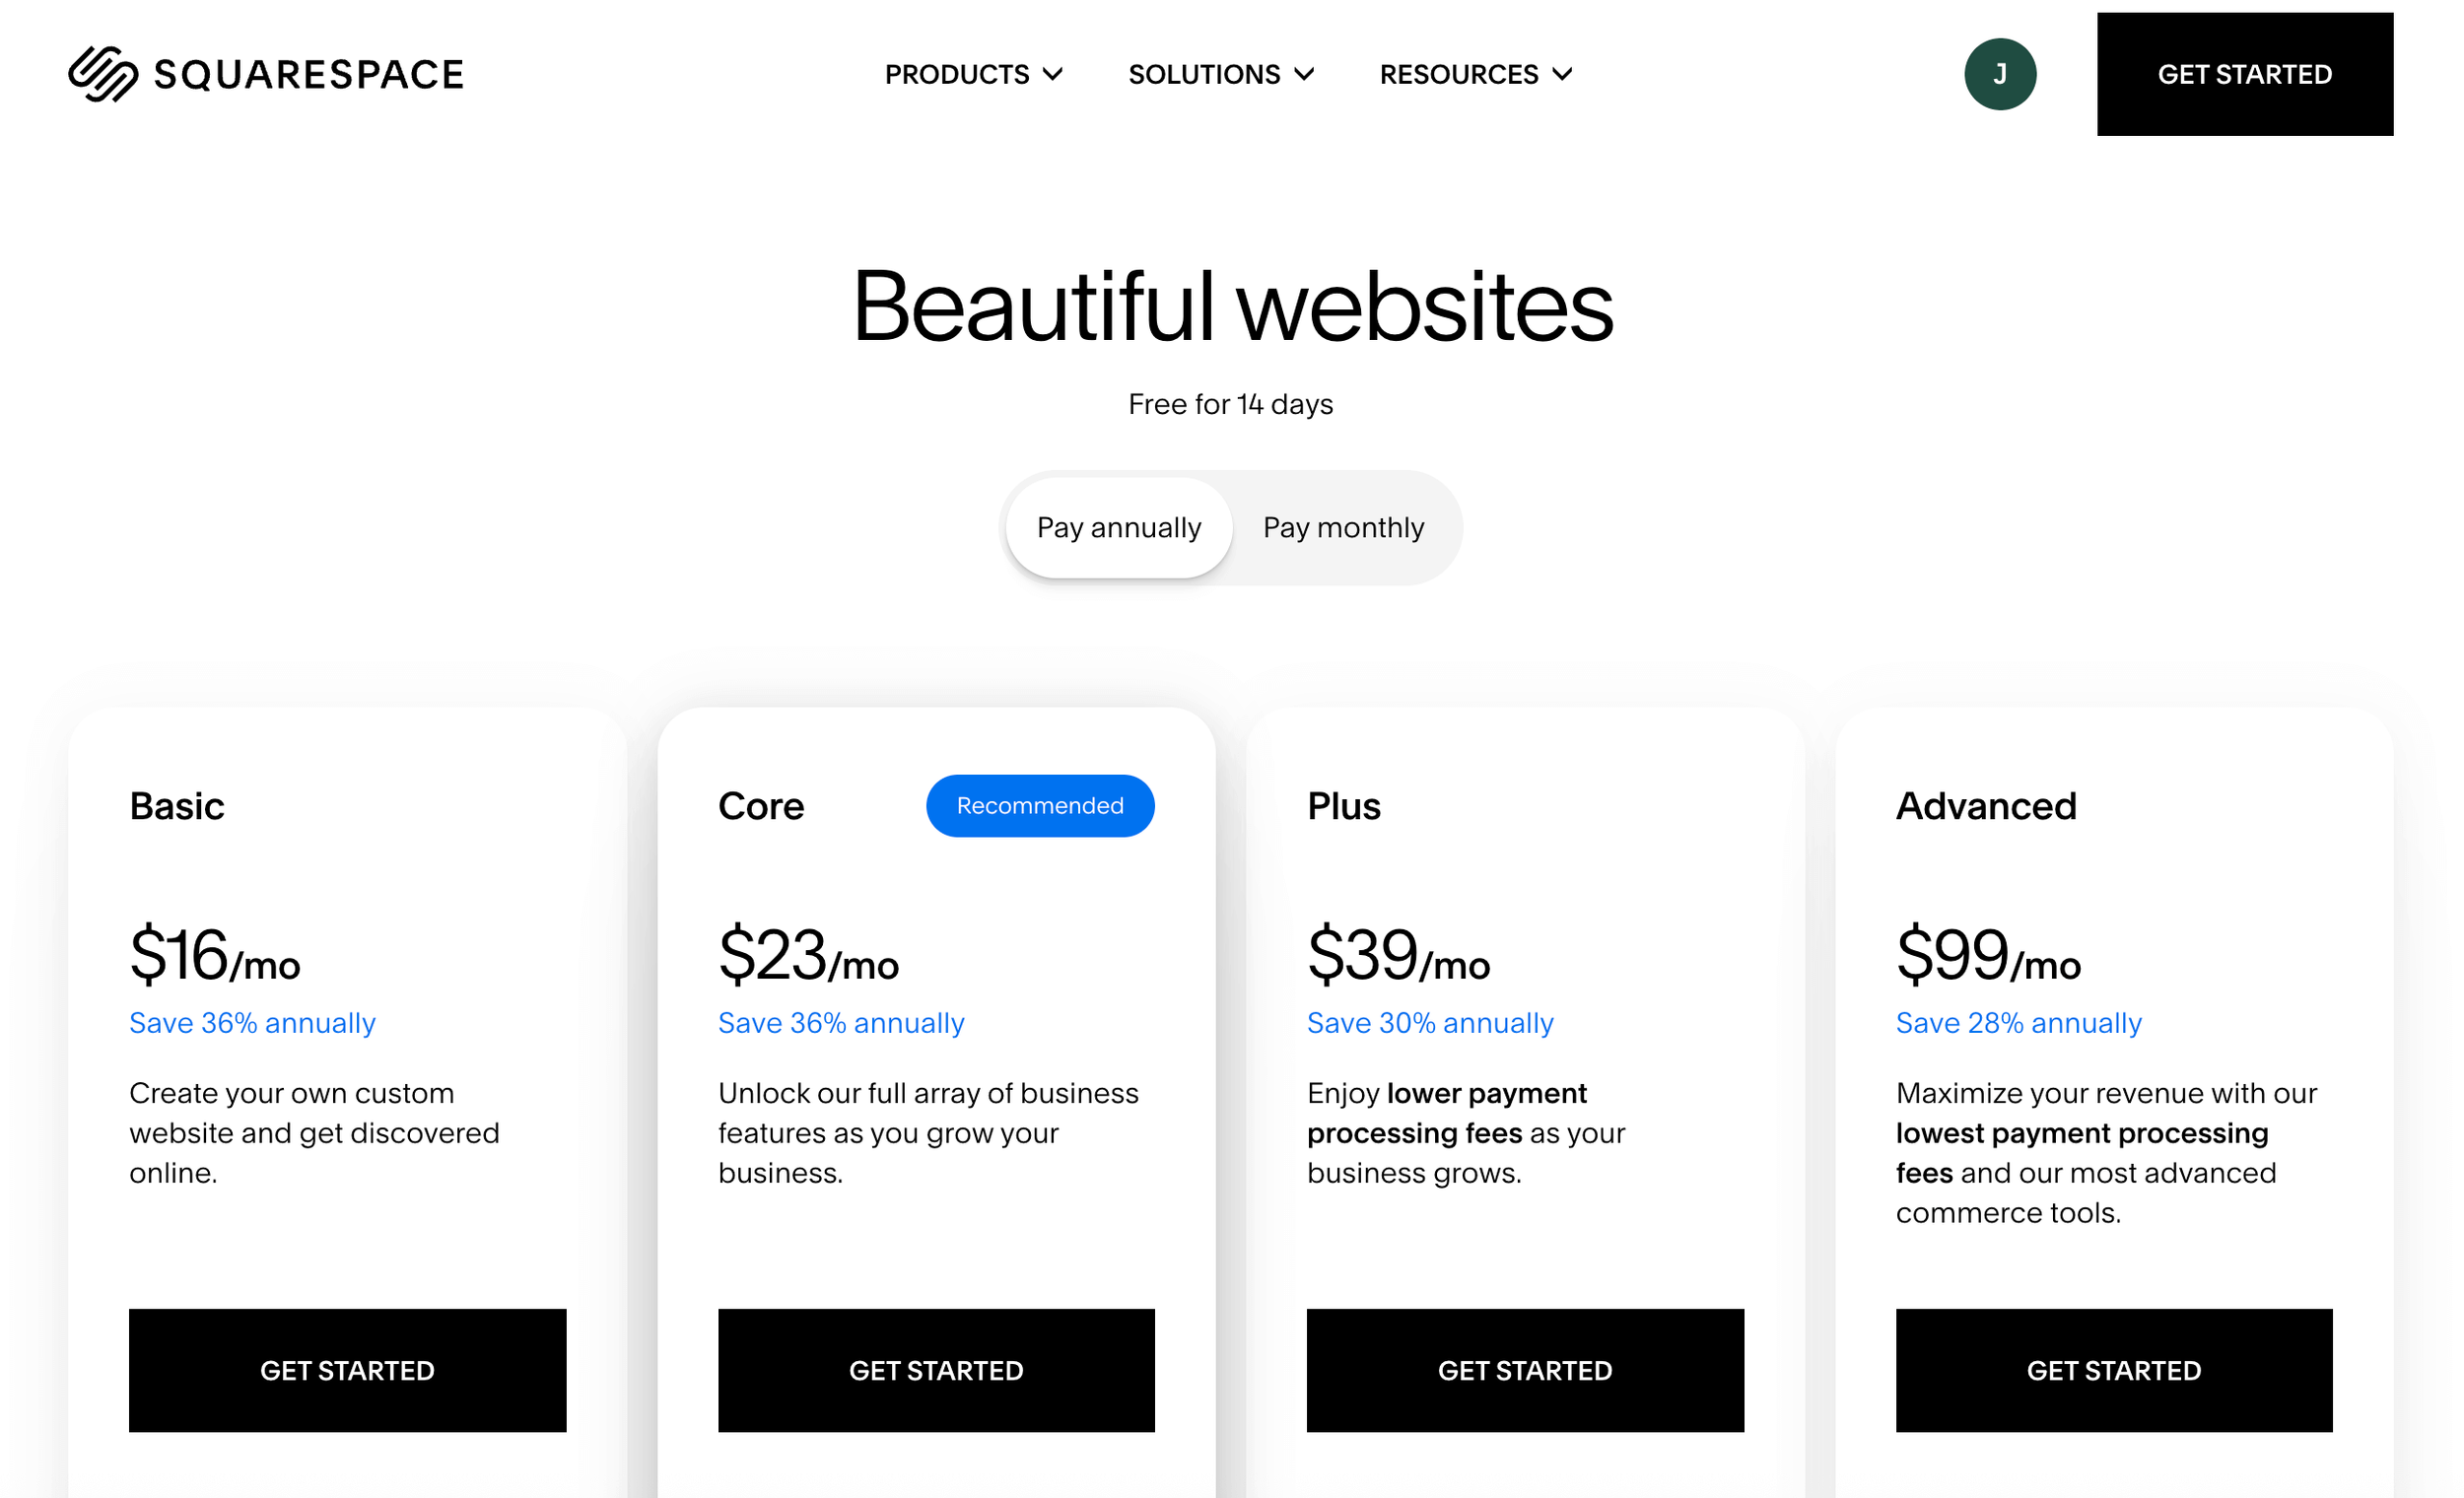
STEP 3. Purchase or Connect a Website Domain and Purchase your Squarespace Plan.
After all of your pages are created, you can purchase an official Squarespace plan and connect or transfer your domain. When selecting a plan, review the current pricing and choose the option that best fits your needs.
Most of my clients select the “Core” plan:
The Core plan includes several helpful features, such as an announcement bar, pop-up forms, in-depth website analytics, and access to custom CSS for more advanced design control. The Basic plan is also great for simple sites!
The final step is to connect or transfer your domain.
The “domain” is your main URL, for example “sundaistudio.com”. This may have been purchased in conjunction with your old website on the same website builder, OR it could have been purchased from a third party domain provider (I know, eek tech, hang with me!).
If you choose to transfer your domain into Squarespace, everything will live in one place, which many people find convenient. However, domain “transfers” can take anywhere from one to fifteen days and usually include a one time transfer fee of around twenty dollars.
“Connecting” your domain is typically faster and does not include a transfer fee, but you will continue to manage and renew your domain with your current provider (GoDaddy, Bluehost, etc.). The good news is that Squarespace has a great support assistant that has helped SOOO many of my clients setup their domains successfully. Here’s a link to the Squarespace Support Assistant.
For my techy friends, you can totally do this yourself.
Here’s a tutorial on how to Connect a domain >
And here’s a tutorial on how to Transfer a domain >
Make your site live!
And don’t forget to celebrate! 🥳
You can follow these instructions to publish your site or make your site officially live >
STEP 4. Cancel your account with your other website builder.
Once your new website is live and your domain is successfully connected, THEN you can cancel your plan with your previous website platform. In most cases, the old site design will still technically exist, but without a connected domain it will no longer be publicly accessible.
Be sure to fully cancel your old subscription so you are not charged for any future monthly or annual fees.
How does switching to Squarespace affect your SEO?
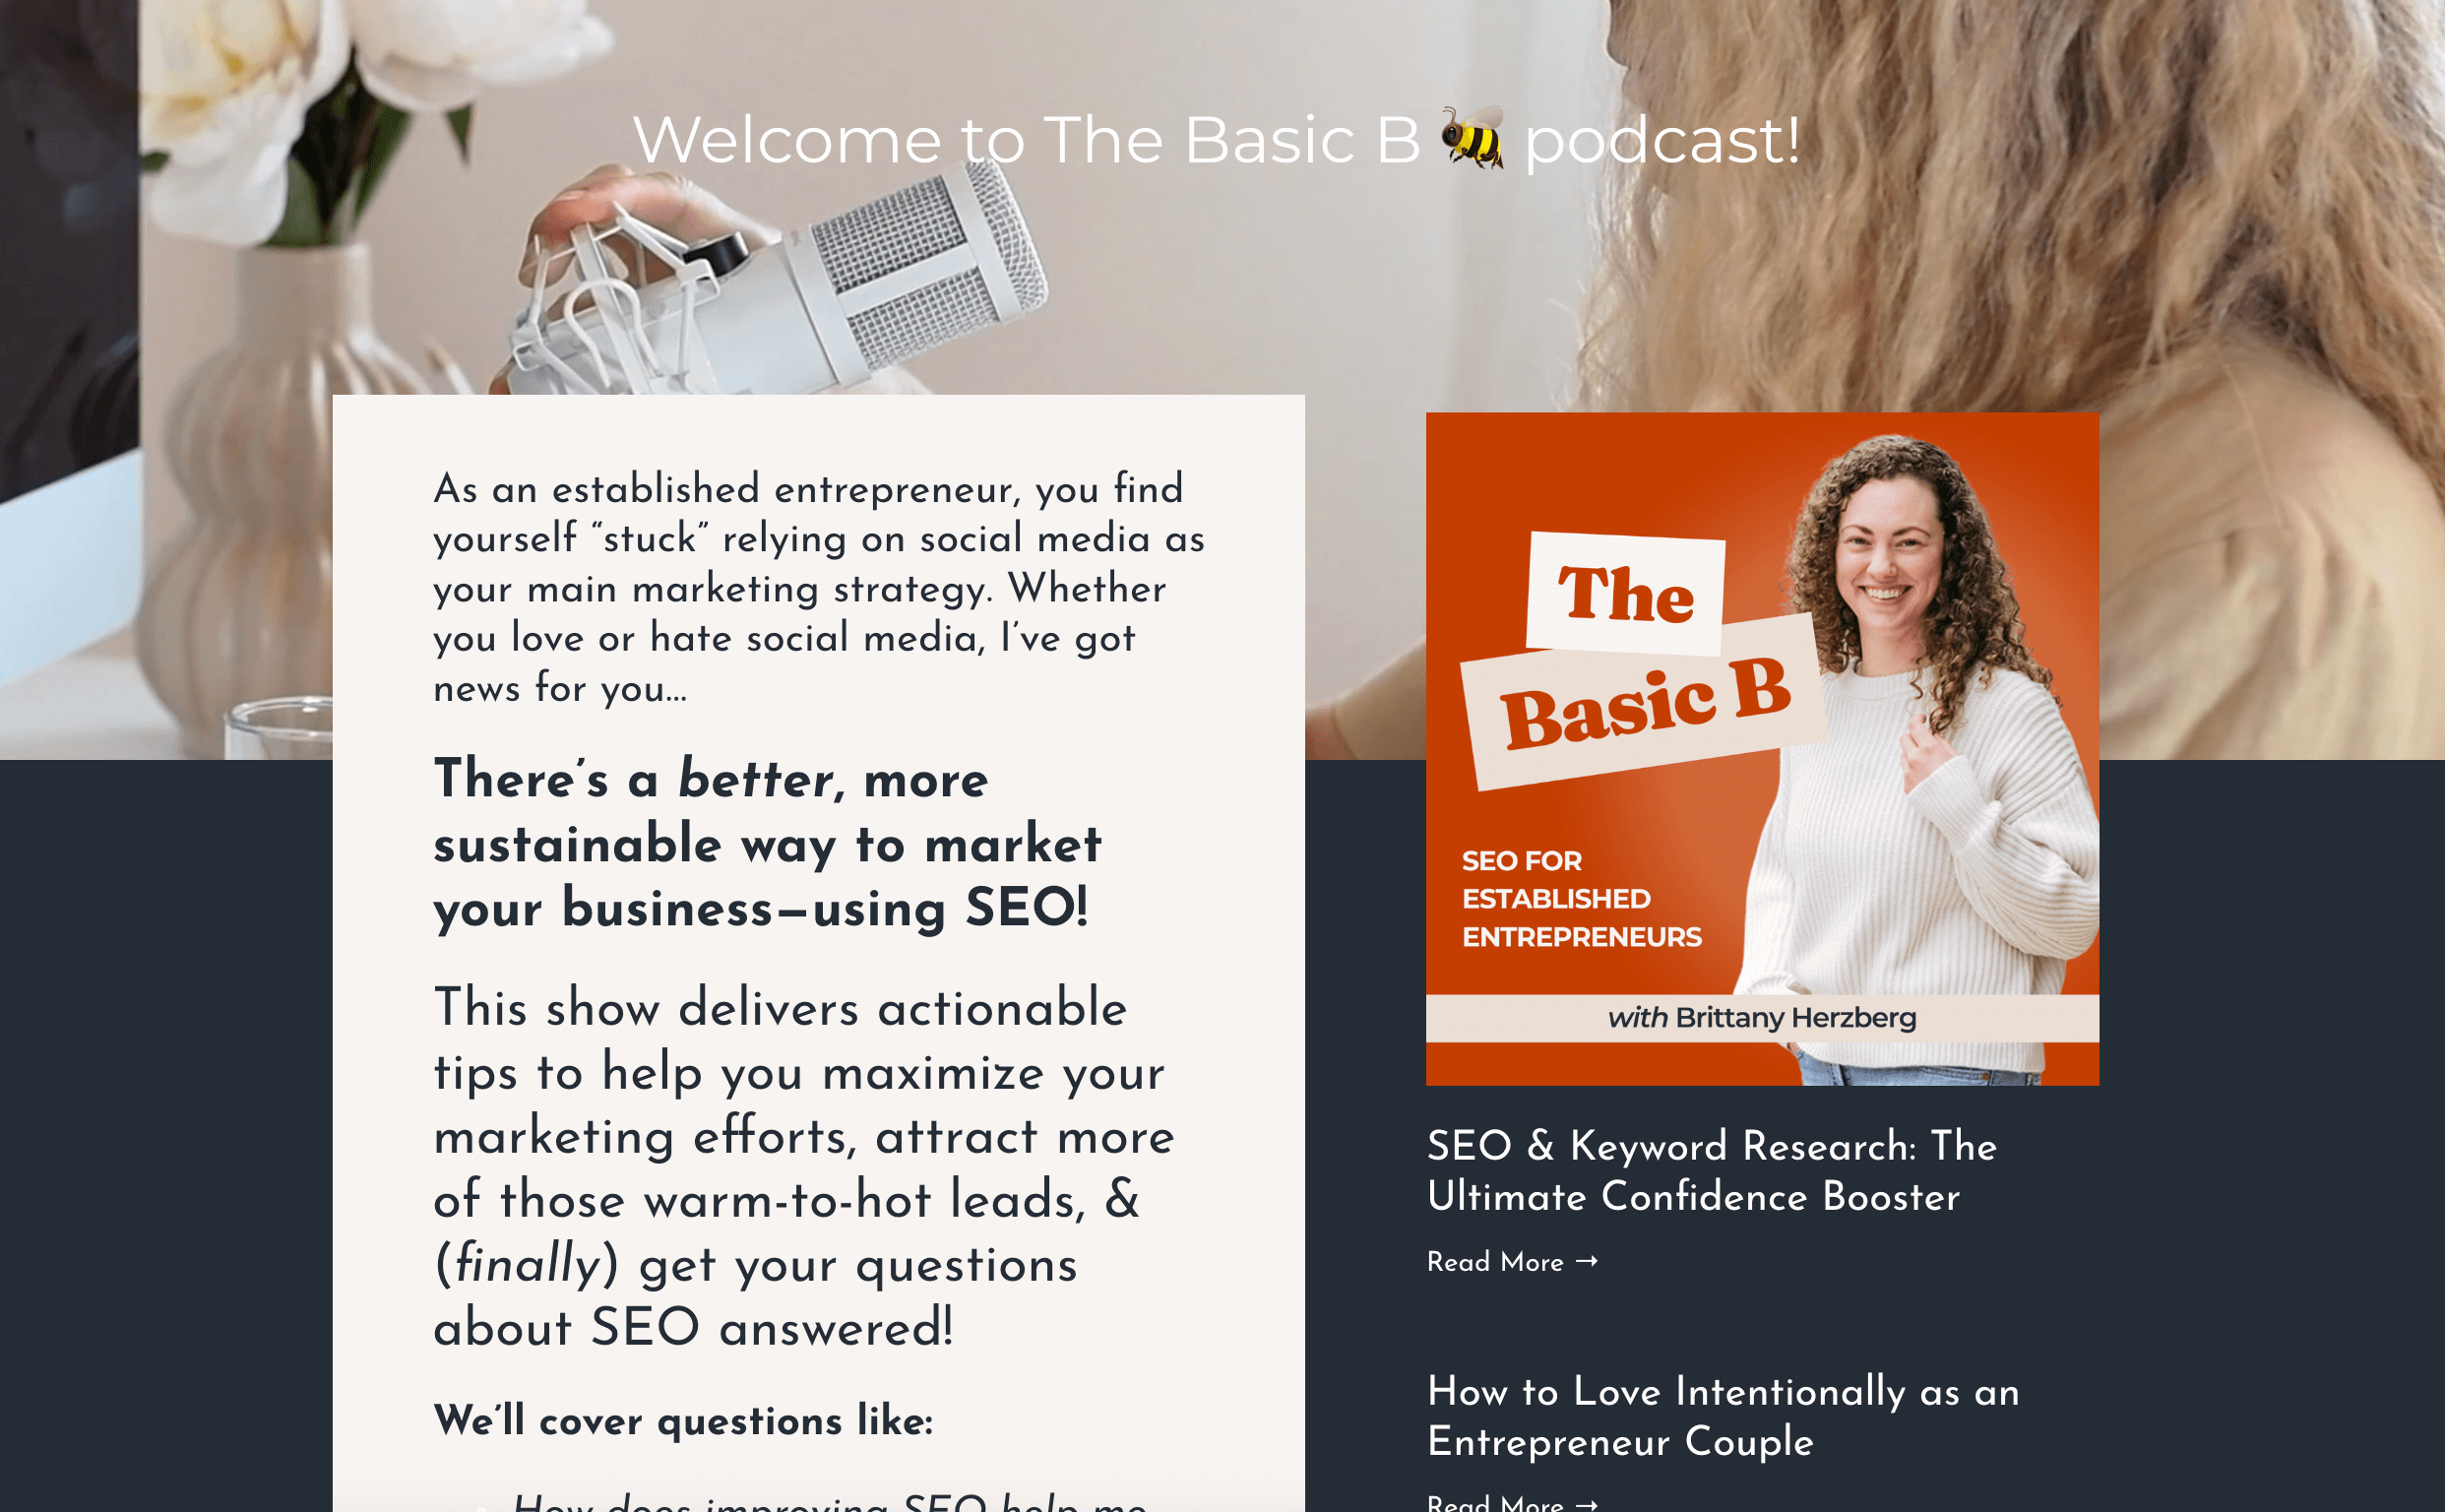
Here are some top tips that I learned from SEO specialist (and my personal SEO Mentor) Brittany Herzberg:
It’s normal and natural to see a “dip” in your SEO initially.
That’s right. When you move your website from one website platform over to another (whether that’s Squarespace or not) it’s going to take Google and search engines a little time to recognize that move and start to show your website again in search results. If you’ve been tracking your SEO, don’t be surprised if this happens. Have no fear though! As long as your new website uses all the same best practices (you have meta descriptions, SEO page titles, and alt text/image titles written, you optimize your images, you’re using your H1’s, H2s, and H3s correctly, and if all of these elements are built with strategy behind them), your data should bump back up shortly. You can help move things along my indexing every page you created by submitting your pages to Google Search Console. Here’s a tutorial on how to index your pages. And here’s a tutorial on how to setup your Google Search Console if you don’t already have it setup. Overall, give it a few months and then reach out to an SEO specialist, like Brittany, if you’re not seeing your data spike back up.
And if all of that seems overwhelming or maybe you’re thinking, “hey, I think I want to do my SEO strategy alongside this move to Squarespace”, again reach out to Brittany! 🤓 Squarespace also has a great “SEO Checklist” you can work through if you prefer to DIY!
Create page “redirects” (if needed) and a custom 404 page.
Redirects have to happen when an old URL slug on your old website is no longer going to be the URL slug for your new website page. Or maybe you’ve “retired” one of your old pages but you KNOW that you mentioned that link sooo many times in a podcast interview. You don’t want to lose the momentum from that website traffic so instead you can “redirect” those website visitors to a different page. Here’s a Squarespace tutorial on how to create Redirects (called URL Mapping). By the way, most of the time you’ll want a “301” redirect — a “302” redirect is only used on a short-term basis and that’s not what we’re talking about here.
When you make a move to a new website builder or platform, it’s a great idea to craft a custom 404 page. This page is the page that shows up when someone clicks a link or button but the page is no longer there or available. Oftentimes with a website move, you decide not to re-create every single page (that old freebie page you haven’t touched in yearsss for example). So you want to provide a helpful 404 page that directs them with resources, buttons or links. Check out Brittany’s 404 page for example. And mine is more simple, but still helpful!
Check for broken links and test your page speed.
Broken links and page speed have an effect on your overall SEO, and when you’re building a new site (and trying to move rather quickly), it’s easy to forget to check these!
After your new Squarespace website is live, head to this website to test for broken links. If you have them, you can either update the link with a more appropriate link or remove the mention of that link.
Test your page speed using this site here (you’ll need to do this for all of your pages separately) to spot any issues where you possibly uploaded an image that was too big, for example.
Looking for help with switching your website to Squarespace?
Squarespace Website Template Kits.
If you’re looking to make the switch, and you’re fine with a little DIY, but you would love a more pre-built website as a starting point, explore the Website Template Kits in the shop.
OR get more hands-on support with a Design Day or the Aligned Website Package.
If you’re looking for more hands-on support from a designer, I’d love to speak with you!
I can upload your new content for you, sprinkle in some branding, or just be here as a resource for any Squarespace questions that pop up for you.
Book a free consultation call and we can discuss whether A Design Day will fit your needs best or if a custom Squarespace website design experience is the better fit. ✨
Why Squarespace? Let’s compare your best website builder options as a Coach, Therapist or Service Pro
Squarespace Pros & Cons:
PROS: Squarespace is my preferred platform because it offers strong design flexibility while still being intuitive for non designers to confidently make their own edits. 🤩 Most of my clients are one woman businesses who are fully in charge of their marketing. Being able to log in, update text, or add a button to a sales page without needing technical support is incredibly important, both to them and to me. Squarespace is also very easy to navigate. The interface is clean and minimal, which makes it hard to feel lost or overwhelmed. You are given what you need to build and manage your site without being buried in unnecessary options. It also supports a wide range of business needs, including email marketing, selling digital products such as PDFs and courses, and simple, accessible SEO customizations.
CONS: Not ideal for selling and shipping physical goods (you’ll want to look into Shopify for that).
Showit Pros & Cons:
PROS: Showit is very competitive with Squarespace from a visual and design standpoint. You have a high level of creative freedom, and the drag and drop editor makes it possible to build truly custom, design-forward websites.
CONS: For non designers, Showit can feel more difficult to learn, and the overall learning curve is noticeably steeper. Your blog must be connected to a separate WordPress site, which adds extra setup and ongoing admin work if blogging is part of your strategy. It is also not a great fit for businesses that need to sell and ship physical products.
Wordpress Pros & Cons:
Pros: WordPress is a classic for a reason. If your primary goal is to monetize a blog, such as running ads as a recipe creator or content publisher, this is often the best platform to support that model. It is typically less expensive to set up initially.
Cons: Hidden and ongoing plugin costs are very common. While the platform itself may be free or inexpensive to start, there is often significant manual setup required, along with additional paid plugins for essentials like security, performance, and backups. The learning curve for editing and maintaining your site can feel steep at first. Once you become familiar with the system it is manageable, but it does require more technical confidence. Your design flexibility is also tied closely to your theme or page builder, such as Elementor, which can feel limiting if custom design is important to you.
Wix Pros & Cons:
Pros: Wix is often one of the most affordable options. It includes a drag and drop editor and offers a very large template library, which gives you a lot of design flexibility right out of the gate.
Cons: With so many templates and design tools available, the interface can feel overwhelming. The setup process may feel scattered for someone who prefers a more guided or structured experience. Without a strong design eye, it is also easy to end up with a site that feels more DIY than polished.
Honorable mentions: Weebly, Canva, Podia, Kajabi
Weebly: This is a free option, but the design tools and interface are more limited and tend to feel clunky compared to newer platforms.
Canva: A great quick solution for simple pages or short term use, but not ideal for a long term marketing or SEO focused website strategy.
Podia: A nice option if your main goal is selling digital courses and you do not need the full feature set of a larger platform like Kajabi.
Kajabi: An all in one robust platform that works well for selling digital courses and using built in email marketing tools. The learning curve is steep, and design flexibility is limited (past clients have described it as “clunky”). If visual design is a top priority for you, this will likely not be your best fit. It is also one of the more expensive options in this group because of its all in one structure.

That’s it! Whether you’re a client reading this or you’re someone on the internet looking for some guidance, I hope this blogpost feels supportive for wherever you are in the process.
If we haven’t met yet, I’m Jena Thielges a Brand and Website Designer. I specialize in working with women who are coaches, therapists, healers and service providers. Founded in 2019 on seven years of agency experience, Sundai Studio is more than a brand and web design studio—it’s your energy, embodied in design. Because even your branding should feel aligned.
Check out my offers here and get in touch if you’re ready to book a free consult call!
Y O U M A Y A L S O E N J O Y …